
365 Pay App
App Set Up Instructions
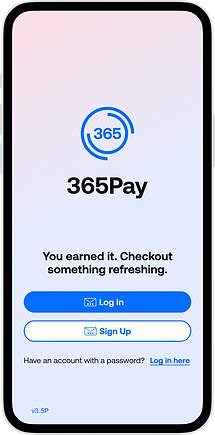


Step 1:
User taps either Log In or Sign Up.
Step 2:
User enters an email address and receives a code to their email.
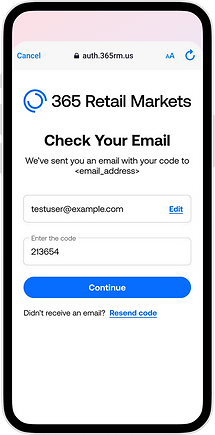
Step 3:
User enters emailed code into the app.
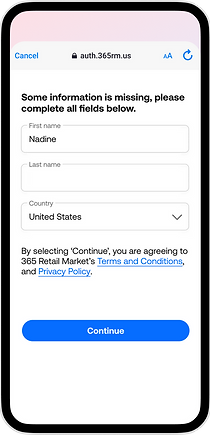

Step 4
If their email address is NOT already associated with an existing active account on the backend, they will be prompted to create an account.
If they have a market card, they can link it at this time. If there is an existing active account with just the market card associated and no email address, then the accounts will be merged in this process.
Users can also merge accounts by scanning the QR code that displays on the kiosk. To access this QR code on the kiosk, the user needs to log into their account at the kiosk directly.
Step 5
Once a user enters the necessary information, they will be signed in. (Users will remain logged in for 12 months before having to re-authenticate.)
Note:
Adding a location is not neccisary to use the app. When you scan the QR Code at the kiosk your account will then be linked.


First Login:
Upon their first login, each user will be guided through the app tutorial which showcases key features in the app.
Pay at kiosk with QR code

Users can now access their Account QR code via the Pay tab in the footer of the app. In order to pay using their account, they must first fund it. They can add funds using gift cards, credit cards, or debit cards.
-
To add funds to their account, they can tap Add Funds. This will open the Funding tray, where they can choose their preferred funding method. They can also enable Auto-Funding to automatically add a set amount to their account when their balance drops below a specified threshold.
-
To add their account QR code to their phone's wallet, they can tap the Add to wallet button located in the Pay at Kiosk page. This enables faster checkout without needing to open the app.
-
Once account QR code is added, the Add to Wallet button will no longer be visible.
-